fredag 29 maj 2015

Final: Move around

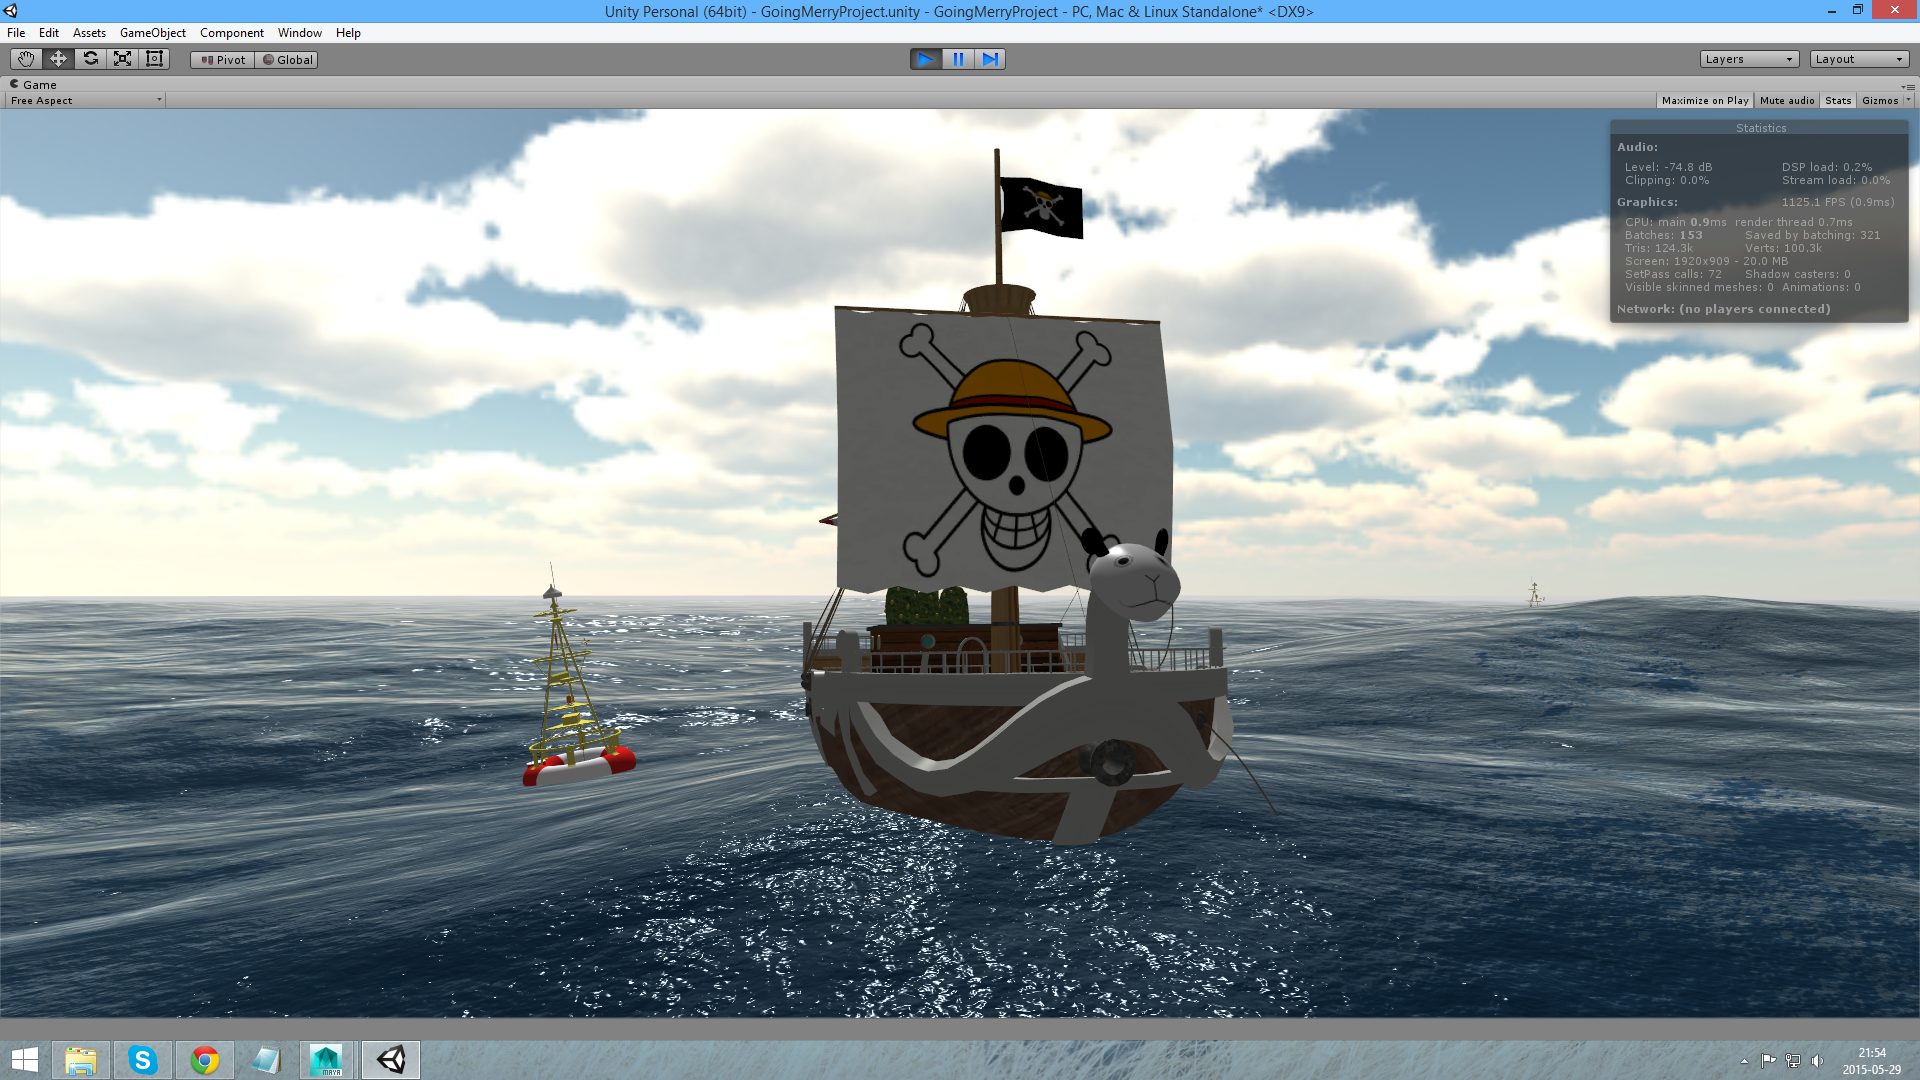
Since Unity is a game engine, it's not funny not being able to control anything. We implemented a first person character on our boat, where we were able to move around the boat. However it was pretty hard to move smoothly, since the boat is floating on water and moves along with the waves. It felt like the character were off balance or drunk.

Instead we implemented a camera and a character controller on one of the boat (you can try it out below)

Observe that the game may not work and that you have to install unity's game plugins.

W=Forward
A=Left
S=Backward
D=Right


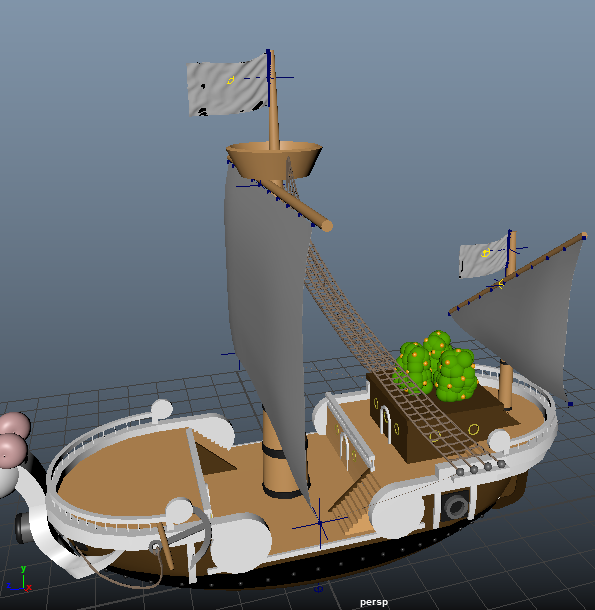
Sadly the motion of the boat is not perfect. If we had more time we would have implemented rotation instead of translation to the left and right ( when you press A and D). But our initial project were actually only to import our model's into Unity, so we've already worked over our expectation.

Sail and floating boat

On the fully textured boat there is some kind of problem with the sail, it somehow turns transparent at times. We believed that this is due to the fact that the sail were pitch black on the backside, as we mention earlier or there is some kind of problem with the material we added. Since the other boat didn't have any problem on the sail at all (a box with the smallest depth).

When we solved the problem as mentioned, the transparency disappeared, yay!

Also as you could see in the previous post, our boat didn't float on the water as the crate's and bouy's , but this was easily adjusted. By looking at the bouy's component we saw that it had some kind of script called bouyancy, which made items float. We basically added the script to the boat's, and the boat's started to float on the water.
floating on water


Unity

Since we created boat's, we obviously wanted our boats to be floating on water. Instead of learning how to the create water in unity (which feels like another project), we came across an open source of water surface, on a blog called Scrawkblog.

ocean9
The ocean looks pretty realistic and is exactly what we looked for. However a problem occurred when we tried to import our boats into Unity, Unity didn't recognize our textures. Once again we had to google it and we found this video. What we did was that we saved our boat as FBX files and then copied all textures(images) we used, to our "Unity Project map", and pasted it under the "texture" map.

Skärmbild (269)

UV and coloring

Now that our boat's are done we have to add some texture and color to make the boat more lively. This is were it starts to get tricky, assigning colors were simple, but how do you apply a texture? We found this video on youtube, once you understood the concept of UV mapping, it was pretty straight forward.

An example of how UV mapping went down.
One of us decided to fill the whole boat with textures whereas the other colored the whole boat except for a few parts, such as the sail's, flag and head, which got textured.


Textured to the left, part textured and part colored to the right.

Done with modelling

After a lot of hours in front of the computer screen, we can finally brag about building our first object consisting of a lot of objects in Autodesk Maya, a boat. Earlier we mention that we were restrained to create an object consisting of 2000 polygons, which is wrong. The more details we added, the more polygons we had, we exceeded the 2000 limit long ago. It's not possible to create such detailed boat by 2000 polygons. What we realized is that the guy who created the buss were actually doing a project given by Christopher Peters, which explains the 2000 polygon limit.

The reason the sails are black is simply because it is a plane, and the black part represent the "inside" (if it were a box instead of plane, the inside would have been black aswell).

We also applied animation to the sails and flag, however we did not know you had to add animation separetely. So we decide to give up on the animation part, because we didn't want to overwork, the animation were not apart of our initial plan. (Animation is visual as images below)

Almost done

With the final count down slowly approaching our boat's are almost done.

This is how it looks so far.

Halfway done

As time goes on our model's developed along.
Featured image


This is quite a good looking base, but there is still lots of details to be done